If your paddleboard breaks, cracks, or bursts, you may benefit from fixing it yourself. The repair process does not have to be challenging. If you are eager to find out how to fix your broken board, we will take you through several effective stand-up paddleboard repair methods.
Methods of Repairing a Broken Paddleboard
You will benefit from the following when repairing your broken paddleboard at home. The first step is to have the necessary equipment. You might want to purchase a paddleboard repair kit instead of sourcing each piece of gear individually.
1. Identify the Cause of Breakage
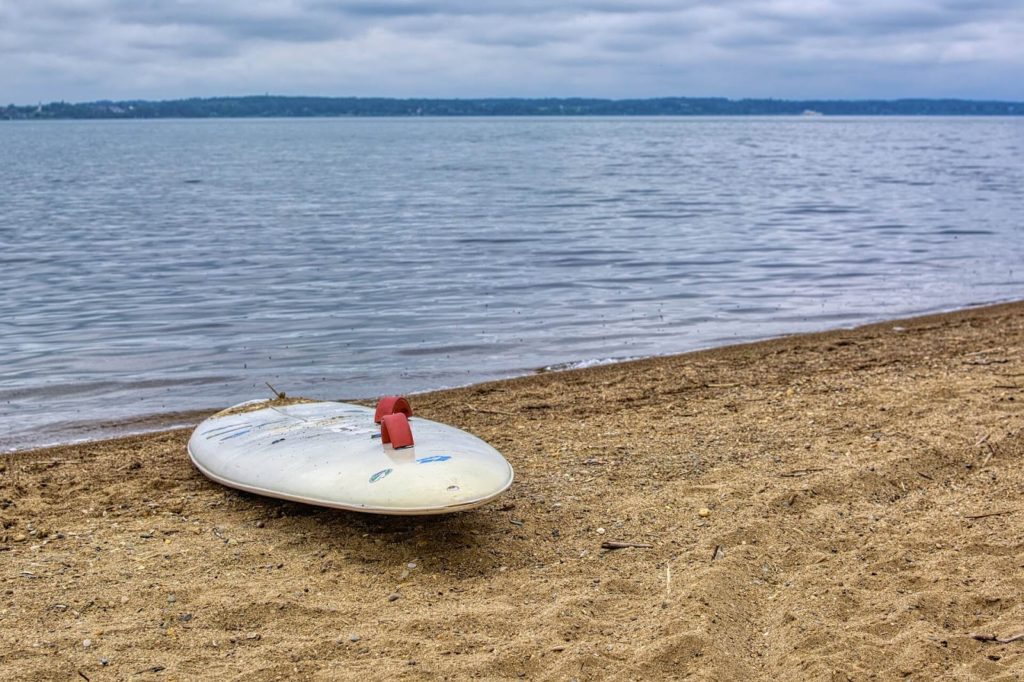
To stand up on your paddleboard safely, you need to ensure there are no dings, dents, or cracks on the board. The first step towards repairing your board is first identifying if there is an issue.
Carefully lay your board on a flat piece of land where you can comfortably and diligently look for any problems. Use your hands to feel if there are any dents in the material.
This step is critical because the presence of cracks can worsen over time and, if not detected, can put the board beyond repair. It can potentially allow water to seep into the inside of your board, thus making it unable to function in the way it should.
2. Make Sure That Your Paddleboard Is Dry
Before repairing your board, you must make sure the interior and exterior parts are dry. You can achieve this by storing your board in a cool and dry area with low humidity, good airflow, and light to facilitate a quicker drying.
Leaks in your board can cause water to seep into the board and would require you to dry it for longer. To check if the interior is still wet, you can use a simple ear swab wrapped in a thin yet sturdy paper towel.
Cover both the cotton and stick part of the ear swab using a dry paper towel. Insert it into the crack or hole in your paddleboard. Remove the swab and paper towel, then check if there are any wet patches. If the paper towel is damp, it still needs to dry for a few more hours. Continue this process until the paper towel comes out of the board dry.
3. Remove the Damaged Area
How you remove the damaged section depends on the type of material used to make your paddleboard.
For a carbon paddleboard, you can use a sander or sandpaper, depending on the extent of the damage. Continue sanding the board until there are no jagged pieces left.
Plastic paddleboards require a small utility knife to cut away the broken sections. Carefully carve the material until you remove all dinged areas. Once you have cleared the damaged parts, use sandpaper to remove any loose pieces. Sandpaper can help you apply the epoxy resin in the next step.
4. Use Epoxy Resin to Patch Up the Empty Section
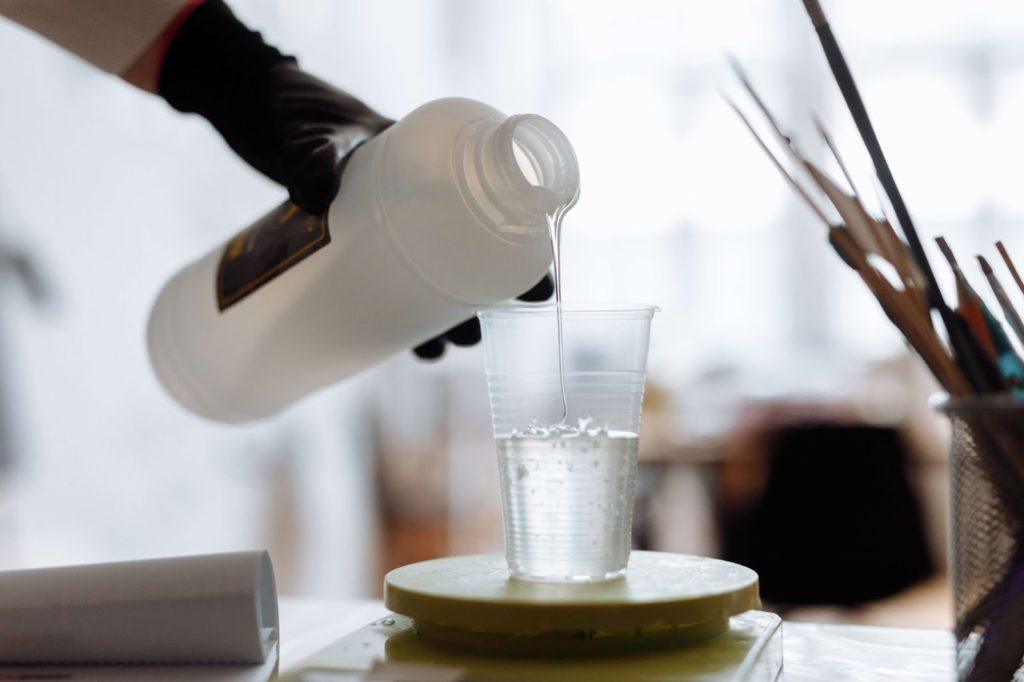
When fixing your paddleboard yourself, you can use general-purpose epoxy resin. Ensure that you are using gloves, as direct contact with the resin may cause skin irritation or inflammation.
Mix the resin using a flat spatula, stirring rod, or even a popsicle stick. Once the resin is thoroughly mixed, apply it to the dinged area. You should apply the resin so that it replaces the entire section you have previously removed.
5. Cover the Resin-Coated Area and Let Dry
Use clear tape to cover the resin-coated spot and at least 2 inches around it since tape can help you sand the dinged section after it dries. While certain types of resins dry quickly, make sure that you wait at least a day before removing the tape.
Once the epoxy resin is completely dry, use sandpaper to smooth out the section. A smooth finish will ensure that the paddleboard feels almost new.
Making Your Paddleboard Look New
Once you have fixed the damaged areas of your paddleboard, it may not appear as it did before damage. The epoxy resin is likely to stand out depending on the size of the damaged area, and you may need to use paint to help your paddleboard look as good as new.
An easy way to paint your board is to use spray paint. To color repair a spot, use tape to cover the other sections of your board. The tape will help prevent paint from getting into places you do not want it to go.
Next, use spray paint to cover the area. Make sure that you wear a mask and gloves when painting. Lastly, let the paint dry thoroughly in a cool, non-humid location before using the board in the water.
Repairing an Inflatable Paddleboard
An inflatable board has a different repair process compared to carbon or plastic boards. The first step is to locate the source of the leak or tear. With your board fully inflated, you will be able to find the location of the tear by listening for where air is escaping. Once you find the location, mark the area with a temporary marker so it is easier to locate once the board is deflated.
Next, clean the area around the leak, tear, or puncture. Once the area is clean, find a paddleboard patch large enough to cover the entire tear and place glue on the patch as well as the damaged paddleboard section.
Apply the patch onto the glue-covered section on the paddleboard and wait for the glue to dry. Depending on the glue, this may take a few hours to a whole day. For effective results, wait at least a day before inflating and using the paddleboard.
Tips for Paddleboard Maintenance
This section covers valuable preventive measures that improve the lifespan of your board.
1. Inspect Your Board After Every Use

It is good practice to inspect all sections of your board to identify any issues promptly. Noticing holes or cracks can help to prevent further damage from water seeping into your board. It is also easier to fix a minor crack when it first begins to form, both in the sanding and painting.
2. Clean Your Board Using Soapy Water
Make sure that you properly clean your paddleboard each time after using it. Spray your board down with soapy water to remove small debris and saltwater still clinging to the surface. Lastly, leave the board in a cool and dry location.
While this may not help prevent breakage, applying soapy water to your board can help you identify any cracks or leaks. When you spray the water, the presence of air bubbles will tell you whether air is escaping; if that is the case, it is time to repair your board.
Summary

There is no one-fix-all as there are different board types, each with its unique repair technique. Understanding how they differ is all you need to know to DIY fix your board at home. While more extensive and exaggerated damage might require you to hand the board over to a third party, you should be able to handle smaller problems with the tips listed in this post.
FAQs
What Should I Do When I Can’t Fix My Paddleboard Myself?
If your board breaks to the point that you cannot fix it yourself, you can look into getting it repaired by a professional. To quickly get started, search ‘paddleboard repair near me’ and source the one that best fits your requirements.
How Do I Find a Leak on My Paddle Board?
To find a leak on your paddleboard, mix washing liquid with fresh water until it becomes soapy and pour the mixture over where you suspect a leak to be. The presence of bubbles in that board section would confirm if the leak is indeed where you suspect.
What Kind of Materials Do I Need to Patch a Paddle Board?
A paddleboard repair kit will give you all the materials and equipment required to fix your board. A typical kit includes sandpaper, repair glue, a wrench, and PVC repair sheets.
How to Fix an Inflatable Paddleboard Valve?
If you notice that your inflatable paddleboard is leaking around the valve, it does not necessarily mean that it’s broken. A leaking valve can mean that it requires further tightening. To fix the leak, you can use a valve tool. First, place one hand underneath the valve to secure it in position. Insert the valve tool into the groves of the valve, and turn it until you feel resistance. Once you can no longer turn the tool, it should be fully tightened.