Kayaking: how to get started. Well, it is much easier than it might initially seem. If all you have to go with is what you have seen on your tv screens, the never-ending paddling, twists and turns, no one will blame you if you think kayaking difficult or impossible. The secret to kayaking is the same as every other skill you try to perfect. It requires you to learn and respect all the rules. You should consider this article a rule book if you are a beginner kayaking enthusiast.
What is Kayaking?
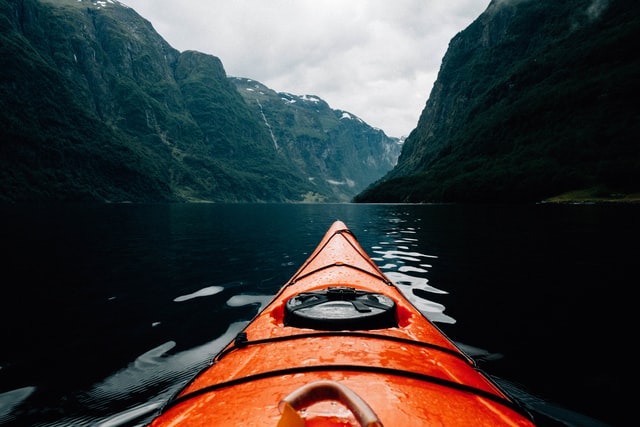
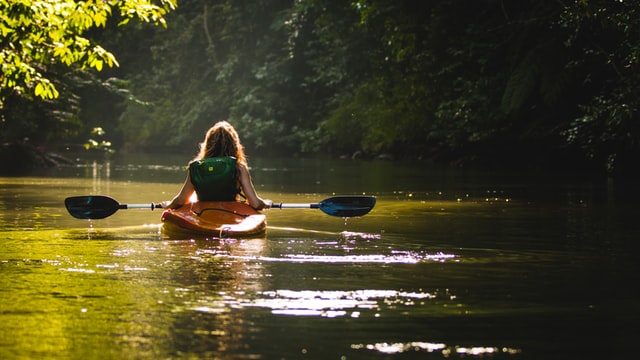
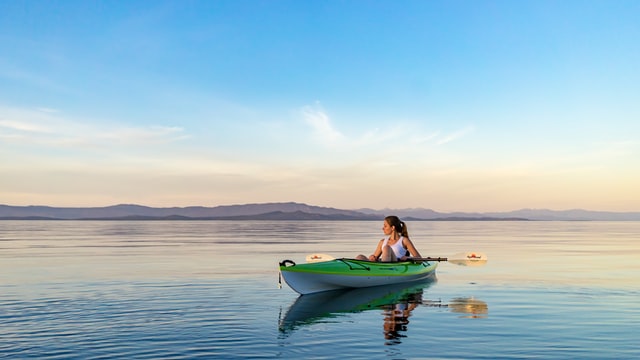
It goes without saying that you need a kayak when kayaking. Kayaking is simply propelling this canoe-like vessel with the use of double-bladed paddles. It is a fun activity that can be enjoyed alone, in the company of friends and family, in any water body and is a high-energy workout routine with low impact on your tissues and joints.
Who can go kayaking?

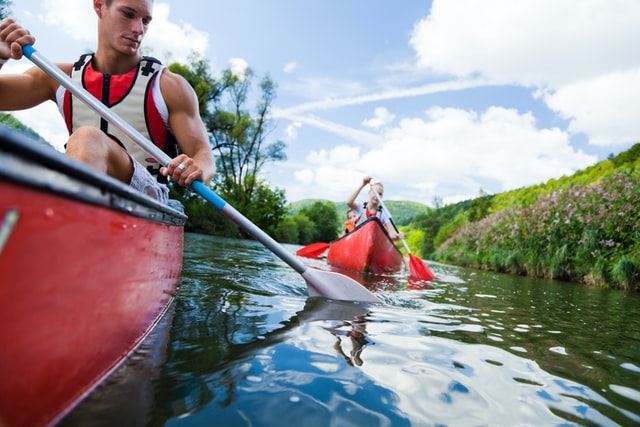
One fun part about kayaking is that anybody can go kayaking. This is why most families opt to go kayaking together. It bonds the family unit and allows them to get closer to nature. Younger children must have the necessary safety gear on at all times and are closely monitored by experienced adults when on the water.
Kayaking: How to get started – Gear
Enough talking about things you probably know about kayaking, how to get started and let’s get to the fun part; your gear and why you need them. Kayaking for beginners would be incomplete without a thorough breakdown of all they need to have and how you should deploy each piece of equipment.
Here goes:
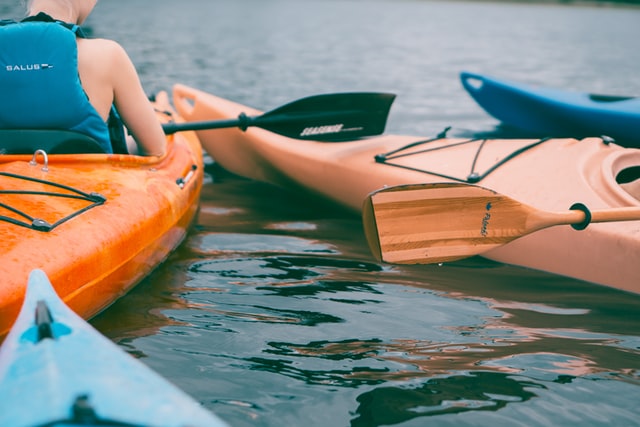
1. Kayak
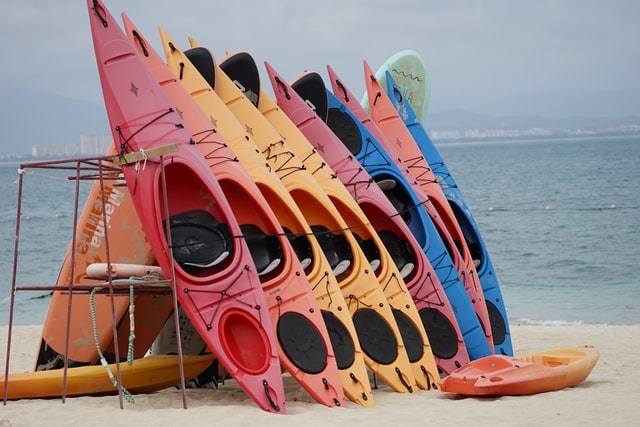
You need a kayak to go kayaking. It is the singular most important piece of gear. Still, you might not want to buy your kayak outright if you are only developing interest and uncertain how far you are willing to go in the kayaking world. Also, there are more than a few types, so you need to experiment before you are sure what and which works for you.
Until then, you can make do with some rentals, or you could borrow from your friends. You can sign up for a tour or class for the most value. Either one would see the organization you are registering with set you up with an appropriate kayak and other necessary gear.
Types of Kayaks
Kayaks can be broadly sorted into two categories, whitewater and flatwater kayaks. When you go a level deeper, you find that there are four types of whitewater kayaks and five types of flatwater kayaks, as seen below:
Flatwater Kayaks
- Sit on top kayaks: These are exactly as they sound. Instead of having a covered deck, the sit-on-top kayak has exposed decks, making it easier to go in and out of it. This and the fact that it tracks and handles moderately well makes this kayak a go-to for beginners or kayakers looking to have fun on the water.
- Recreational kayaks: These have the traditional closed deck that you would find on most kayaks. It is relatively shorter and more affordable than the touring kayak. It is designed to ferry you on the water as you take in the sights. This kayak type is easy to use and known for its relatively stable design.
- Inflatable kayak: A significant advantage of having one of these is their storage and ease of transport. It does not require you to set aside space in your vehicle when traveling, and there is no need for assembly. Inflate it at your destination, and it’s ready to be launched. The drawbacks, however, are that it does not track well, and it is one errant pin away from going pop.
- Touring kayaks: The first thing that strikes you when you see this kayak is that it is not for beginners. It has a frame at least 12 feet long that makes it track very well on water, carry more incredible speeds and cover significant distances.
- Pedaling kayaks: If, for whatever reason, say a medical condition, you would be unable to paddle the kayak properly, you have the option of using a pedaling kayak instead. It is pretty much a water bicycle. Sounds pretty awesome when you look at it that way.
Whitewater Kayaks
- Creek boats: This is a high-volume kayak designed so that neither end can be fully submerged. It resurfaces immediately due to the larger deck shape. It is designed to run on technical whitewater and is ideal for steeper, tighter waters.
- Playboats: If you want to impress with freestyles and stunts, then playboats were made just for you. The planning hull feature on this kayak type allows the watercraft to plane on the river surface and thus make the cool tricks possible.
- River Runners: These are also called downriver kayaks. They are designed to punch through waves without compromising the stability of your watercraft. This kayak type is considered a blend of playboats and creek boats. The 7-8 feet frame makes it suited to manage tight turns with decent tracking.
- Old school longboats: You can satisfy your nostalgic cravings with this kayak type. It is a relic from the past with a radically different design than the high-volume kayaks you see.
Inflatables: These boats have a wide design that confers on this kayak type a lot of stability and allows users to store a tonne of equipment on board. The tradeoff is that it does not track well and does not handle okay in the turns.
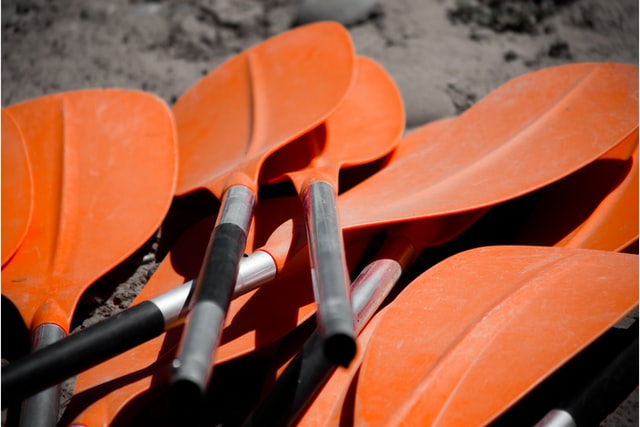
2. Paddle
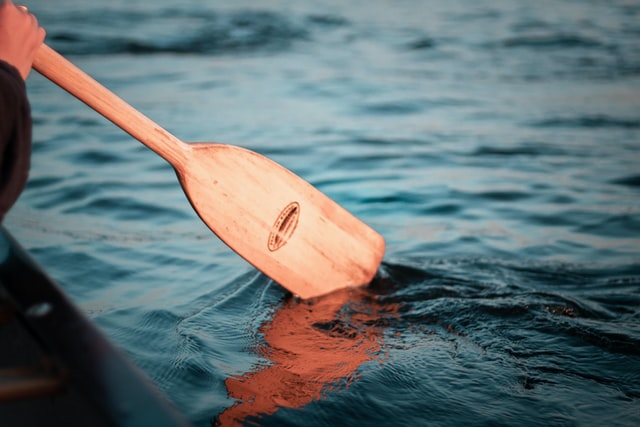
Unless you opt for a pedal kayak, you would need a paddle to ferry your watercraft. There are a couple of factors to consider when choosing a paddle for your kayak. They include but are not limited to the following:
Length
You need a paddle of the correct length for excellent performance on the water and seamless training. Picking out a paddle with the proper length is relatively straightforward. There are two factors you need to consider when shopping.
- The width of your boat
- Your height
Wider boats need longer paddles and so do taller paddlers. If You are conflicted between two sizes, you should lean towards the shorter as it saves you some money and could help with performance.
Material
It would be best if you were intentional about your choice of material for the shaft and your paddle blade. The right combination guarantees a lightweight paddle that efficiently transfers the power in your stroke and improves performance.
When choosing the material for your blade, you should lean toward lighter materials to reduce fatigue and allow you to move the paddle faster. It is important to note that more lightweight materials are also likely to cost more. The trick is finding the balance between expense and performance. There are three primary materials for you to consider as far as the blade is concerned, they are:
- Plastic: This is on the lowest end of the price spectrum. It is the go-to for beginners, but it compromises the quality of the strokes due to its flexible nature. The common perception is that it is near indestructible, but this is far from the truth as it can be warped in the sun or even crack when paddling.
- Fiberglass: These blades are lighter than plastic and, as a result, more maneuverable. It is in the middle of the price range. Still, you get value for your money as quality fiberglass blades can improve your performance, especially if you switch from plastic.
- Carbon fiber: Top shelf, the best money can buy. If you want a truly sublime experience, you should look no further than carbon fiber blades. They are ultra-lightweight, very stiff, and the energy transfer in your strokes would be second to none.
As for your shaft, you should start with aluminum if this is your first foray into kayaking. It would not dent your budget, but you should be careful as it can get very hot and very cold. You should opt for fiberglass or carbon fiber shafts if you want more performance.
Feathering
The blades on the paddle can be feathered or unfeathered (matched). It is said to be feathered when the blades on the paddle are not on the same plane or if they are at angles to each other. And the reverse is the case when the paddle is said to be feathered or matched; that is, the blades are on the same plane.
Feathering is helpful because the blade outside the water sees very little wind resistance than if it was not feathered. Most paddles allow the users to set up the paddle to be either matched or feathered and can even determine the level of feathering in 15-degree increments.
Asymmetrical or symmetrical
This refers to the blades on the paddle, and asymmetrical paddles do not have the same surface area on either end of the blade. The blades on symmetrical paddles, on the other hand, have the same surface area on either side of the blade.
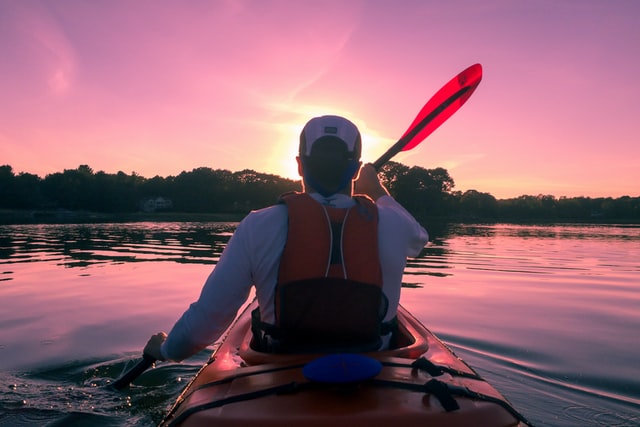
3. Personal Flotation Device (PFD)
Having a PFD on is not optional, as the coast guard mandates you to have one on your person when you are on the water. It would help if you tried to see the PFD like a car seatbelt equivalent, and having it on keeps you safe. It is essential that the PDF is good fitting, tightly adjusted and works perfectly.
4. Distress Flare or Whistle
The coast guard mandates you to have a signal flare or whistle on your kayak when on the water. It comes in handy when you need to call nearby boaters’ attention or ask for help generally.
5. Bilge Pump
This is a must-have if you consider a sit-in kayak, and it comes in handy when you flip. The handheld device helps you remove water from your kayak.
6. Proper Clothing
When in Rome, behave like the Romans. When on a kayak, dress like a kayaker. You need to dress the part as some specific fittings would make for a more enjoyable kayaking experience. These include but are not limited to the following:
- Neoprene footwear
- Spray or rain jacket
- Noncotton rashguard top
- Swimwear or shorts
- Sun shielding hat
7. Other Items
The following are essential personal items you should have aboard your kayak if you plan to hit the waters soon, especially if you will be there for a while.
- Plenty water
- Phone (in a waterproof pocket)
- GPS
- Headlamp
- Bag to hold your items
- Sunscreen
In and Out of Your Kayak
Getting In
You have made up your mind about the type of kayak and materials for your paddle. The next thing to do in your kayaking journey is to get on the kayak and learn how to get off the kayak.
First off, how you get on your kayak depends on where you are trying to board your kayak. The easiest is from the shoreline, and it’s because you can board the kayak in shallow waters and gently pull yourself onto the water. The disadvantage is that you could scratch the hull of your kayak if the waters are too shallow, and the solution is to go deeper into the water before pulling yourself into the water.
After choosing somewhere suitable on the shoreline, you should put the kayak parallel to the shore. The next step is to place your paddle behind your seat at a 90-degree angle for stability, with half the paddle lying across the kayak and the other on the shore.
The next step is to place your feet into the boat sitting on half of the paddle on the shore before gently sliding into the kayak across the paddle as you continue to hold the paddle underneath.
It would be best to keep your weight low as you steady yourself in the kayak seat. Remember to remain focused and calm to maintain your balance. Take a few strokes with the paddle across your lap as soon as comfortable in the kayak.
Getting Out
Exiting your kayak is much easier than getting in, and it requires you to take steps to board it in reverse. Paddle yourself to shallow waters, exit the kayak with your legs out first and pull your kayak out of the water.
Getting Comfy in Your Kayak
You must ensure you are snuggly fit in your kayak before you can tour the waters. There are a few ways you can make sure of this, and the first is to tune the seat or seatback until you are sitting upright comfortably.
The next consideration when fitting in your kayak is the position of your knees. You want your knees bent in the kayak in contact with the sides as it allows you to control your watercraft’s sideways motion. It should be just comfortable enough for you to exit quickly if the kayak capsizes.
Using Rudders and Skegs
If you had done your research, you would have come across skegs and rudders. Before we look at what they are, it is essential to note that beginners do not need to use rudders and skegs in training. Learning to kayak with either allows beginners to understand and implement paddling techniques.
Rudders sit at the back and are controlled by the feet to move the kayak left with the left pedal and right with the right pedal, while a skeg is a fixed direction fin from the bottom of the hull deployed in especially windy situations to aid tracking.
Common strokes
The following are some important stokes for beginners to know before going on the water.
1. Forward Stroke
Submerge one blade in the water and rotate it back towards your hips as it propels the kayak forward. Rotate your torso while pulling the blade out of the water as you dip the other side of the blade into the water.
2. Reverse Stroke
Submerge one blade in the water towards the stern. Look behind as you rotate the blade forward towards your hips. As it propels the kayak backward, rotate your torso while pulling the blade out of the water as you dip the other blade into the water.
3. Sweep Stroke
Sweep strokes are used to turn forward or backward. Place the paddle at the front of the kayak and draw in a half-moon arc towards the back of the kayak while rotating your torso to turn forward. You need to repeat the same process, only this time from the stern towards your toes in the front of the kayak to turn backward.
4. Draw Stroke
The draw stroke is used to move the kayak sideways, and it requires you to stick your paddle far out in the direction you want to go with both arms over the water. Rotate your torso in that direction as you maneuver your kayak towards the blade.
Tips for Kayaking Beginners
While the above can be classified as tips for kayaking in general, we have more tips for beginner kayakers coming through below.
Pick a small water body
Start small, very small. You should prioritize lakes where you can see both shorelines because it gives you small ground to cover, and you do not have to worry about larger boats that can cause unnatural waves.
The shore should be visible to others from the land
Where you launch your kayak should be visible to people on land in emergencies. This allows people to swoop into action immediately and can prevent an ugly situation from unfolding.
Dressed for the occasion
It is not enough to be geared up. You must have the right gear depending on the individual conditions of the water body you will be kayaking. The temperature of the water and weather forecast for the day should determine to a large extent how you are dressed for the occasion.
Don’t go farther than you can swim
There would be times when you encounter a wave you can not beat or other unfavorable conditions. Times like this might leave you no choice but to abandon ship and swim to shore. It makes it a lot easier if the shore is a distance you can easily navigate and more accessible for a rescue team to come to your aid.
Have a buddy tag along
It is much safer and more enjoyable when you are out on the water with your buddy. You both keep each other in check, remind each other what they might have forgotten and help each other stay safe on the water.
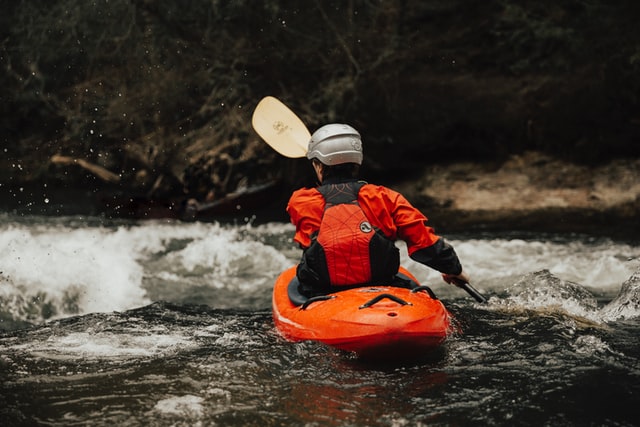
Even experts flip
One prevalent fear in the minds of newbie kayakers is flipping the kayak and finding themselves in the water. It is almost inevitable that your kayak capsizes. Even experts lose control of the kayak from time to time. What’s important is that you can manage the situation correctly, remember your training, get back aboard your kayak or exit the water safely.
Kayaking Jargon
The following are words you would come across in your kayaking training as a newbie kayaker. Understanding what these words mean would put you in a better position to pick up and understand the training.
1. Tracking
Tracking is the ability of the kayak to stay in a straight motion even when a sideways force acts on it. Longer kayaks track better than shorter kayaks.
2. Deck
The deck is the top half of your kayak.
3. Stern
The stern is the bottom half of your kayak.
4. Hatches
The hatch on your kayak is an enclosed space that kayakers can use to hold their gear.
5. Cockpit
The sitting area on the kayak is called the cockpit.
6. Coaming
This refers to a raised structure around the kayak cockpit.
Summary
There you go, kayaking made easy. This is only a beginner’s manual as there are many other things to note, paddling techniques to learn and tricks to execute. But with the above, you have a solid ground to build from and reference.
Good luck. The world is your oyster!
Frequently Asked Questions
Do kayaks flip easily?
Kayaks flip occasionally but not as much as most people think. The appearance often gives people a false impression, but most kayaks are sturdy, steady and difficult to flip over.
Do you get wet when kayaking?
The chances of getting wet are very high, even if only the occasional splash. This is why it is vital to have the right gear on your person.
Is there a weight limit on a kayak?
Yes, and the weight limit depends on the type of kayak. Tandem kayaks can carry as much as 700 pounds. Fishing kayaks carry between 350 to 550 pounds while touring and recreational kayaks are limited to 400 pounds.
Is kayaking easier than paddleboarding?
Let’s get one thing clear; Kayaking is not paddleboarding. They have a lot in common but also a lot separating them. This translates to kayaks having better maneuverability and more speed than most paddleboards.